Reading a Light-Pollution Map: How to Find Your Best Local Night Sky
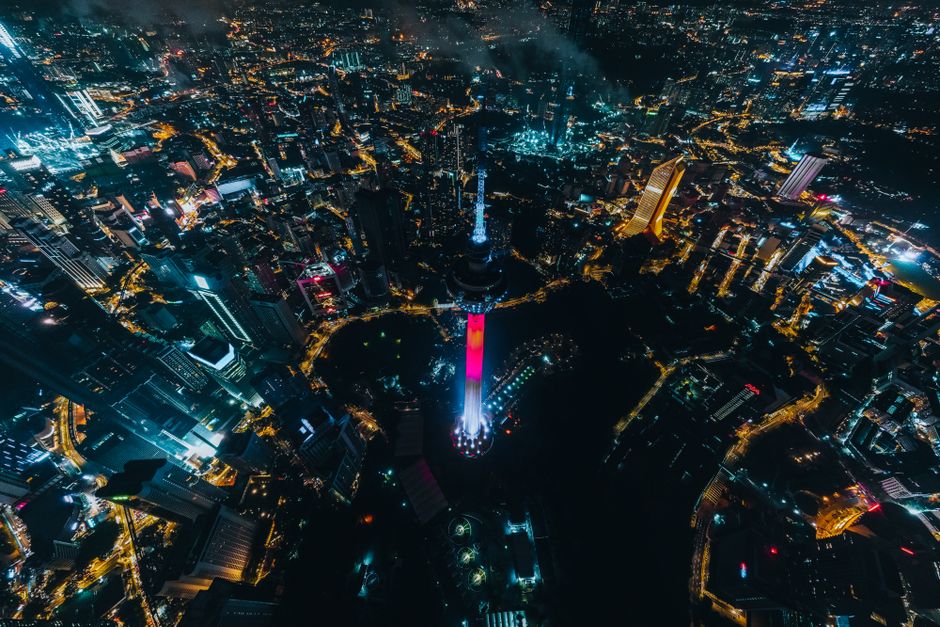
The first time I opened a light-pollution map, I closed it again. The color gradients, the numbers, the unfamiliar terms — it felt like a tool for scientists, not for someone who just wanted to see more stars from their neighborhood. But once you understand what the colors mean and how to translate them into actual observing spots, these maps become one of the most useful planning tools a city stargazer has.
The core idea is simple. Light-pollution maps estimate how bright the night sky is at any given location, usually based on satellite measurements of artificial light and models of how that light scatters in the atmosphere. The result is a color-coded overlay: dark blues and grays for truly dark skies, greens and yellows for rural and suburban areas, oranges and reds for cities, and white for the most light-saturated urban cores. Your job is not to find a perfect dark zone. It's to find the best sky you can realistically reach.
What the Colors Actually Tell You
If you live in a red or white zone, you're in the thick of it. Naked-eye astronomy is limited to the Moon, planets, and the brightest stars. But here's the thing: the boundary between a red zone and an orange or yellow zone is often only a short drive or transit ride away, and that single step can meaningfully improve what you see. Going from a white core to a yellow suburban edge might not sound dramatic, but it can be the difference between seeing a dozen stars in Orion and seeing the whole constellation with its sword and shield.
Zoom in on the map around your home. Look for green or yellow patches within a reasonable distance — a park, a reservoir, a stretch of coastline, a rural road. Note the direction of the nearest dark zone. Then check whether there's a practical way to get there: a bus line, a bike path, a friend with a car. The map is only useful if it connects to a real place you can actually visit.
Also pay attention to local light sources that maps don't fully capture. A single bright parking lot, a sports field, or a poorly shielded streetlight can dominate your immediate sky even if the broader area looks decent on the map. When you arrive at a candidate spot, look around. Which direction is darkest? Which horizon is cleanest? That's where you'll aim your eyes and your camera.
Turning the Map Into a Plan
Once you've identified a few candidate locations, test them. Go out on a clear, moonless night and compare what you can see. Count stars in a familiar constellation. Check how low toward the horizon you can still pick out detail. Bring binoculars if you have them. Over a few outings, you'll develop a personal sense of which spots are worth the trip and which aren't.
Don't dismiss small improvements. A park two miles away that's noticeably darker than your street is a real resource. A rooftop with a clear view away from downtown is a real resource. The map helps you find them, but the habit of going out and looking is what turns a colored patch on a screen into a night you'll remember.
Light-pollution maps are not a verdict on where you live. They're a treasure map. Read them with curiosity, and you'll find darker sky closer than you expected.